Showing posts with label friendship bracelets. Show all posts

Tuesday, August 9, 2011

one for me. one for you


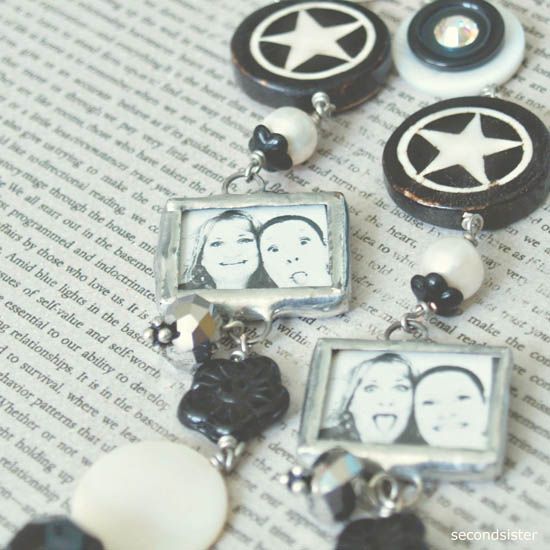
Here is another cute idea for a friendship bracelet from April of Second Sister using photobooth photos of her and Miss Margie... & using junk jewelry. I met April through Spark no 1 and she is helping Margie with all the planning for Spark no 3!
This year, with the arrival of my little Lola, I had to make some changes in my work load and this included the difficult decision of not planning Spark anymore... I loved every part about Spark and I miss all the fun planning but I am happy because it's definitely in inspiring hands and is sure to be a magical event! You should go!! :)

To make the bracelet: Start by scanning in your photo booth pictures and resizing them to about 50% to fit inside a charm frame. She soldered the metal for her frames using a solder iron. Or you can find similar frame charms here and here.
Then, use wire and pliers to attach charms and beads for each bracelet.
Everyone has photobooth pics with their bestie... what a fun keepsake!
April has other beautiful pieces at her Secondsister shop and her gorgeous Jackaroo line will be released this month.
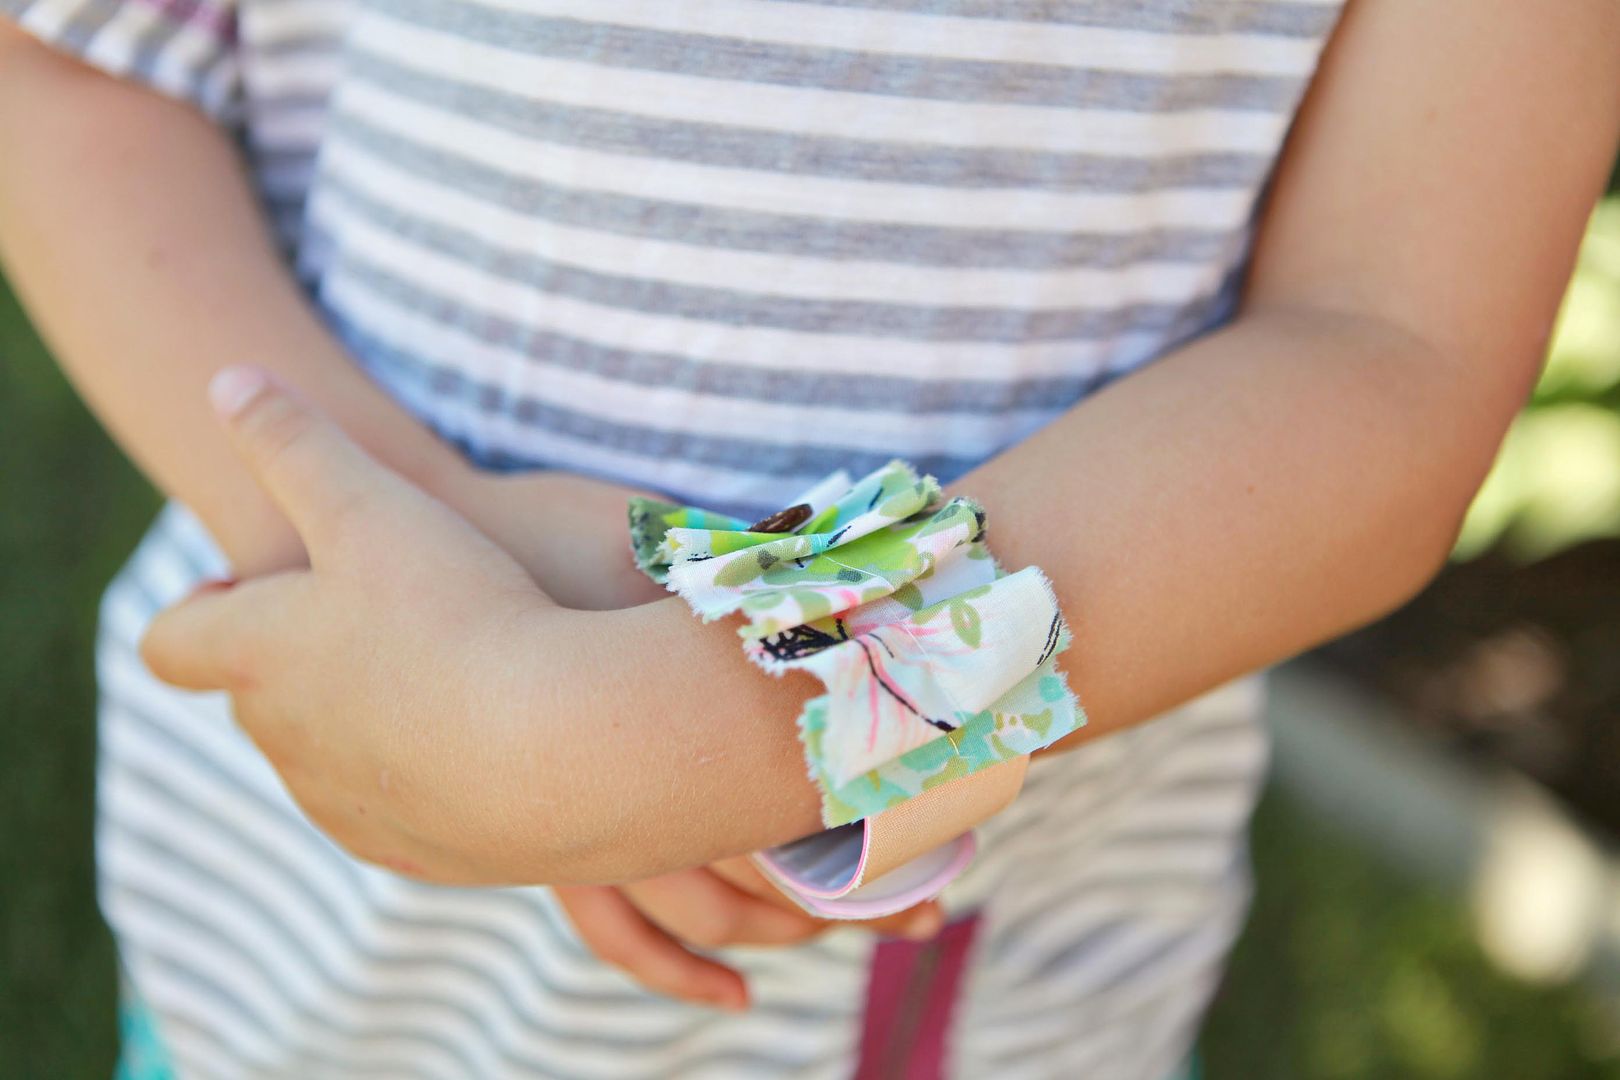
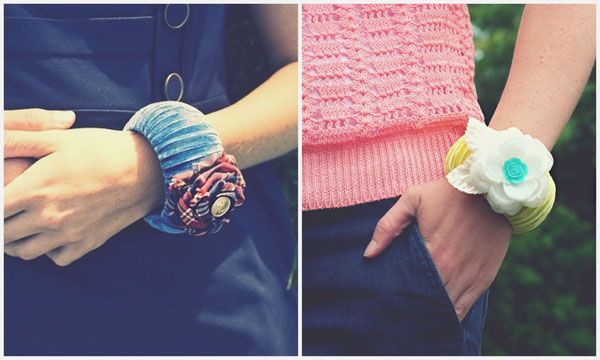
Check out other friendship bracelet ideas for my summer series: One for me One for you


Sunday, July 24, 2011

slap bracelets... are back!


Do you remember slap bracelets...?? How could you forget them, right?
In the 80's they were the perfect accessory paired with a neon leggings, Reebox pumps and a side pony tail. Let me refresh your memory:
Well, I was leaving Joann's and I saw some of these flashback-to-my-youth bracelets in the dollar bins and thought they would be perfect for my One for me, One for you blog series.
Here's how to dress them up:
Gather some adhesive backed fabric, vintage fabric or a fabric flower, a couple of my favorite buttons, scissors, sewing machine and hot glue gun.
Trace the plastic bracelets onto the fabric and cut it out. The Dear Lizzy adhesive backed fabric paper works perfect because it sticks right to the bracelet. Next, sew a few inches of vintage fabric into a ruffle then sew on a button.
Last, adhere the ruffle to the center of the bracelet and slap away!
You can even attach a fabric flower. I used a flower from our Corsage Flower class at Something Splendid for my second bracelet and a button for the center. Super simple.
I literally made both of these from start to finish in like 15 minutes. Collin has a hard time believing that since it takes me that long to dig for my phone in my purse or get my shoes on, but it's true. ;)

PS The winner of Mandi's Pom Pom Braided Friendship Bracelet is:
5SMILESFORYOU! said...

I have 3 daughters that love to make friendship bracelets but we have never thought of using scraps of fabric! What a great idea! We call them sistership bracelets in our house when we make them for each other. LOL

5SMILES FOR YOU email me your address! elizabeth.kartchner@gmail.com yay!

Happy Monday!


Tuesday, July 12, 2011

One for me. One for you.


Today's guest blog is from by Rebekah who has lots of cute, creative ideas at her blog a bit of sunshine. We are now blog buddies and here's her take on the friendship bracelets One for me One for you blog series. They velvet wrapped chunky bracelets that are cute + colorful.

velvet wrapped friendship bangle
You will need a wood or plastic bangle from the craft store as well as velvet ribbon or fabric scraps and some fabric glue. I prefer Fabritac or a gluegun would work fine too.

Simply measure out a few yards of ribbon, no worries if it's not long enough to cover the whole bracelet you can always cut another piece. Glue one end of the ribbon down using the fabric glue onto the inside of the bangle. Wrap the ribbon evenly around the bracelet until the entire piece is covered. Glue down the other end and use a clip or clothes pin to keep it tight while it's drying. Get creative and glue on any fun fabric rosettes or vintage jewelry you can find or make a color block version like I did. These are so easy and so addicting!!

Thursday, July 7, 2011

Pom Pom Braid Bracelets

Today is the start of my new summer blog series: One for me One for you.
For me, when I was a kid summer was all about play. Soaking up every minute until sun-down: running in sprinklers, going to the Drive Inn, snow cones and ice cream trucks. One thing we can not leave out of summer traditions are friendship bracelets!
Over the upcoming summer weeks, a few guest bloggers and I are going to share some lovely friendship bracelet ideas and even giveaway some of the bracelets to you!


The first guest blogger is Mandi from Here's Looking At You Kid. I've followed her blog for a few years and I love her incredible taste whether it's home decor, her vintage wardrobe finds or her beautiful designs. She shares a lovely how-to below.
Pom Pom Braid Bracelets

Here's how:
- cut scrap fabric (mine are leftover from hemming clothes) into three strips:
sizes for 2 short strips: add 4 inches to wrist diameter.
size for 1 long strip (this is the one you will tie): add 6 inches to wrist diameter
- Allowing the long strip to extend past the shorter ones, begin braiding the fabric. At the beginning and end of braid, knot the two shorter strips around the long strip.
- Trim edges to desired length using a penant or diagonal style cut.
- Add fray-check to the edges of unbraided fabric, and once dry, trim excess strands.
- Wrap the braid around your wrist, tying the long strips together in a loose knot.

Mandi made the bracelets with her friend Vanessa, so, even better than making one for a friend, make them together!
What a fun start! Leave a comment and Mandi would love to prettily package up a friendship Pom Pom Braid Bracelet and ship it out to you!