Showing posts with label fabric. Show all posts

Thursday, November 3, 2011

diy: Ruffle Knee Socks


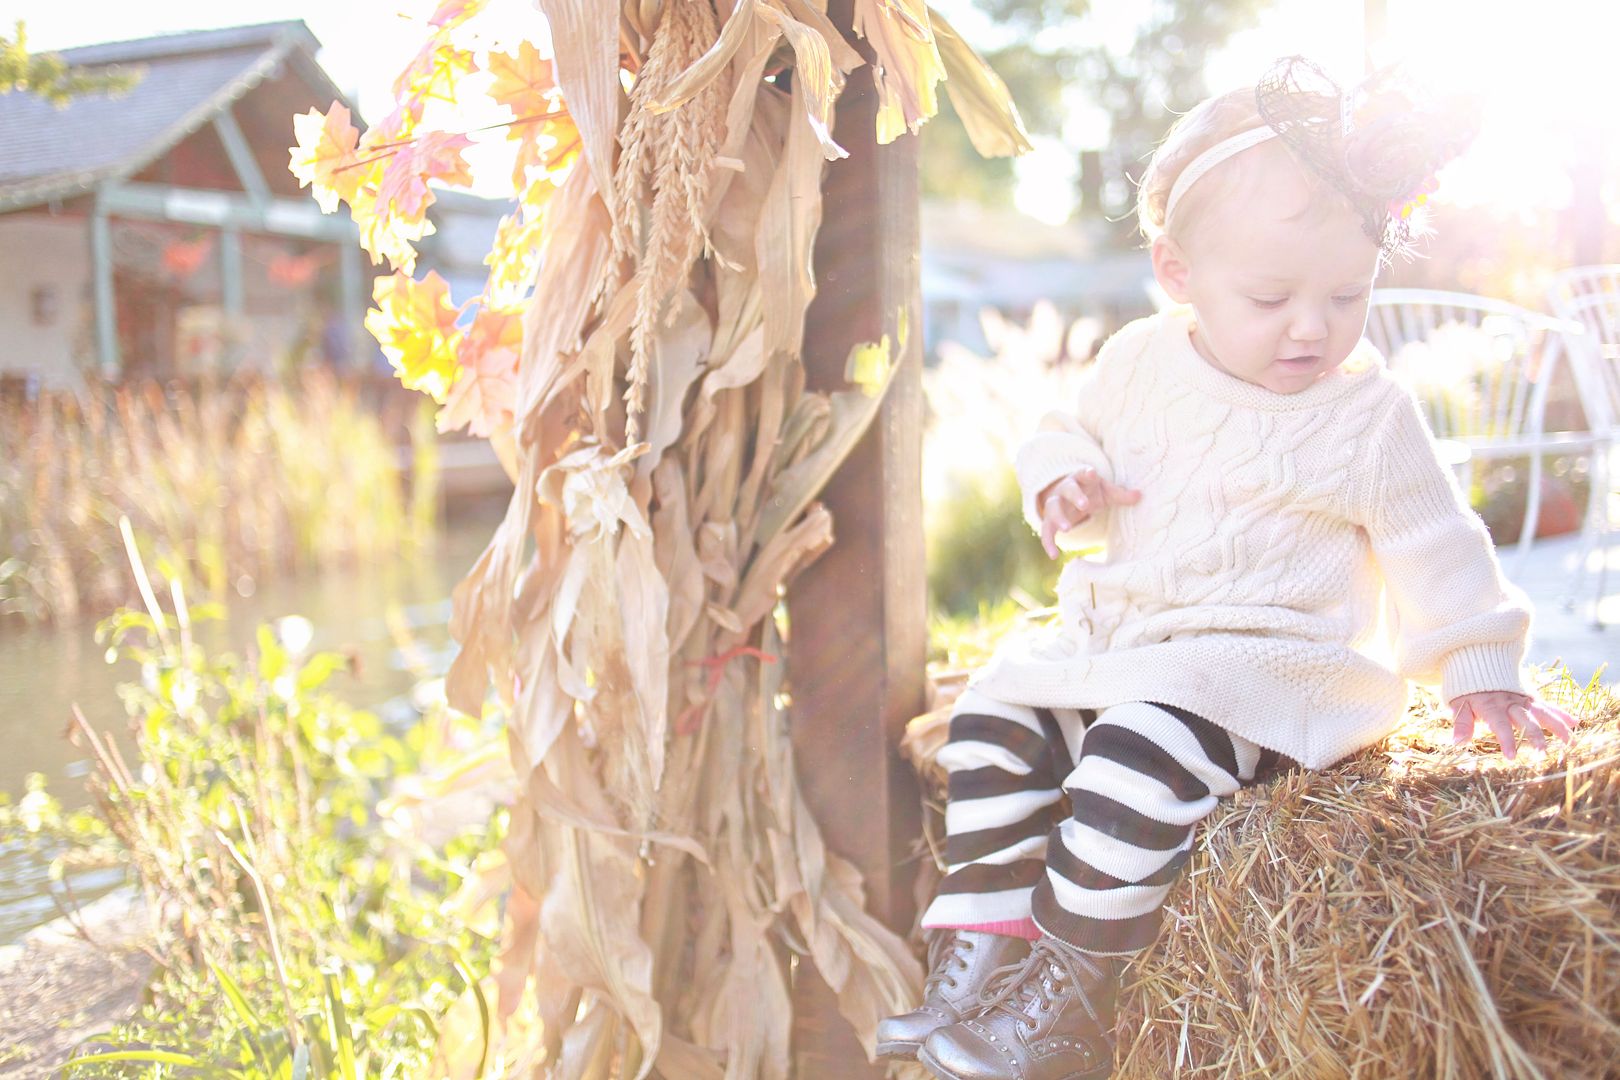
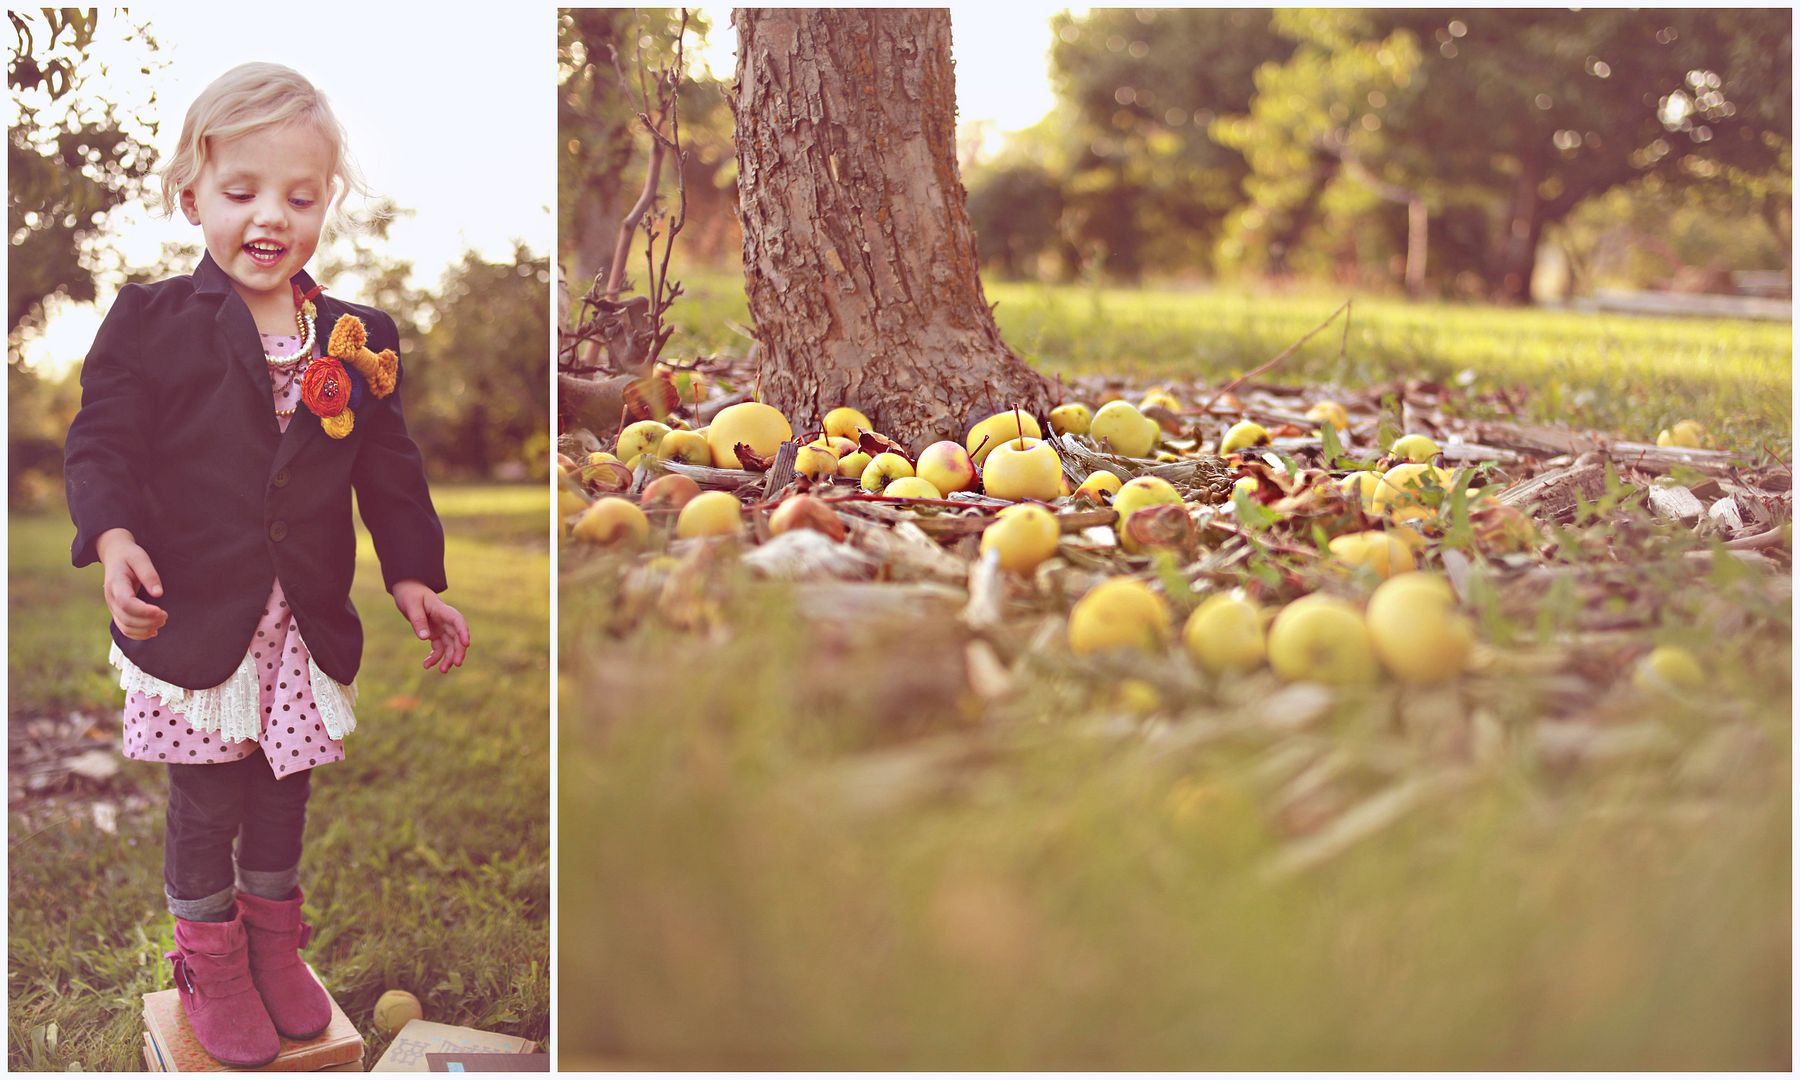
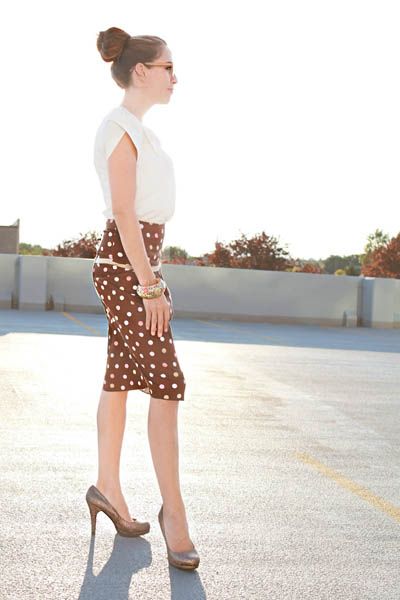
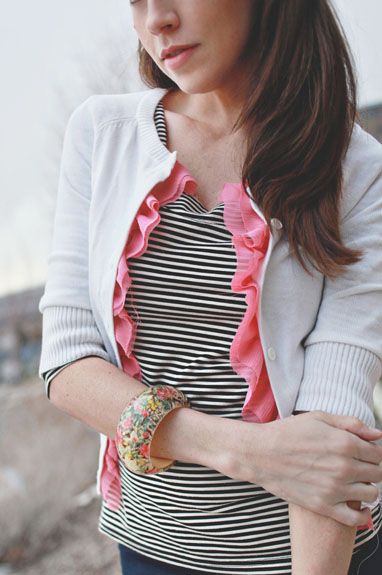
My sister used to always tease me because my socks were always mismatched. You couldn't see them so who cares, right? I'm not sure when things changed, probably when Punky Brewster stopped airing on television, but now I am pretty much obsessed with socks. My drawer is filled with polka dots, stripes and my favorite are over-the-knee paired with leggings. I put together this little diy to make your own ruffle knee socks they are perfect this fall and winter with boots so the lace just peeks out at the top.
Here's how I did it:
These socks are from Target for 2.50 along with some other more decorative ones.
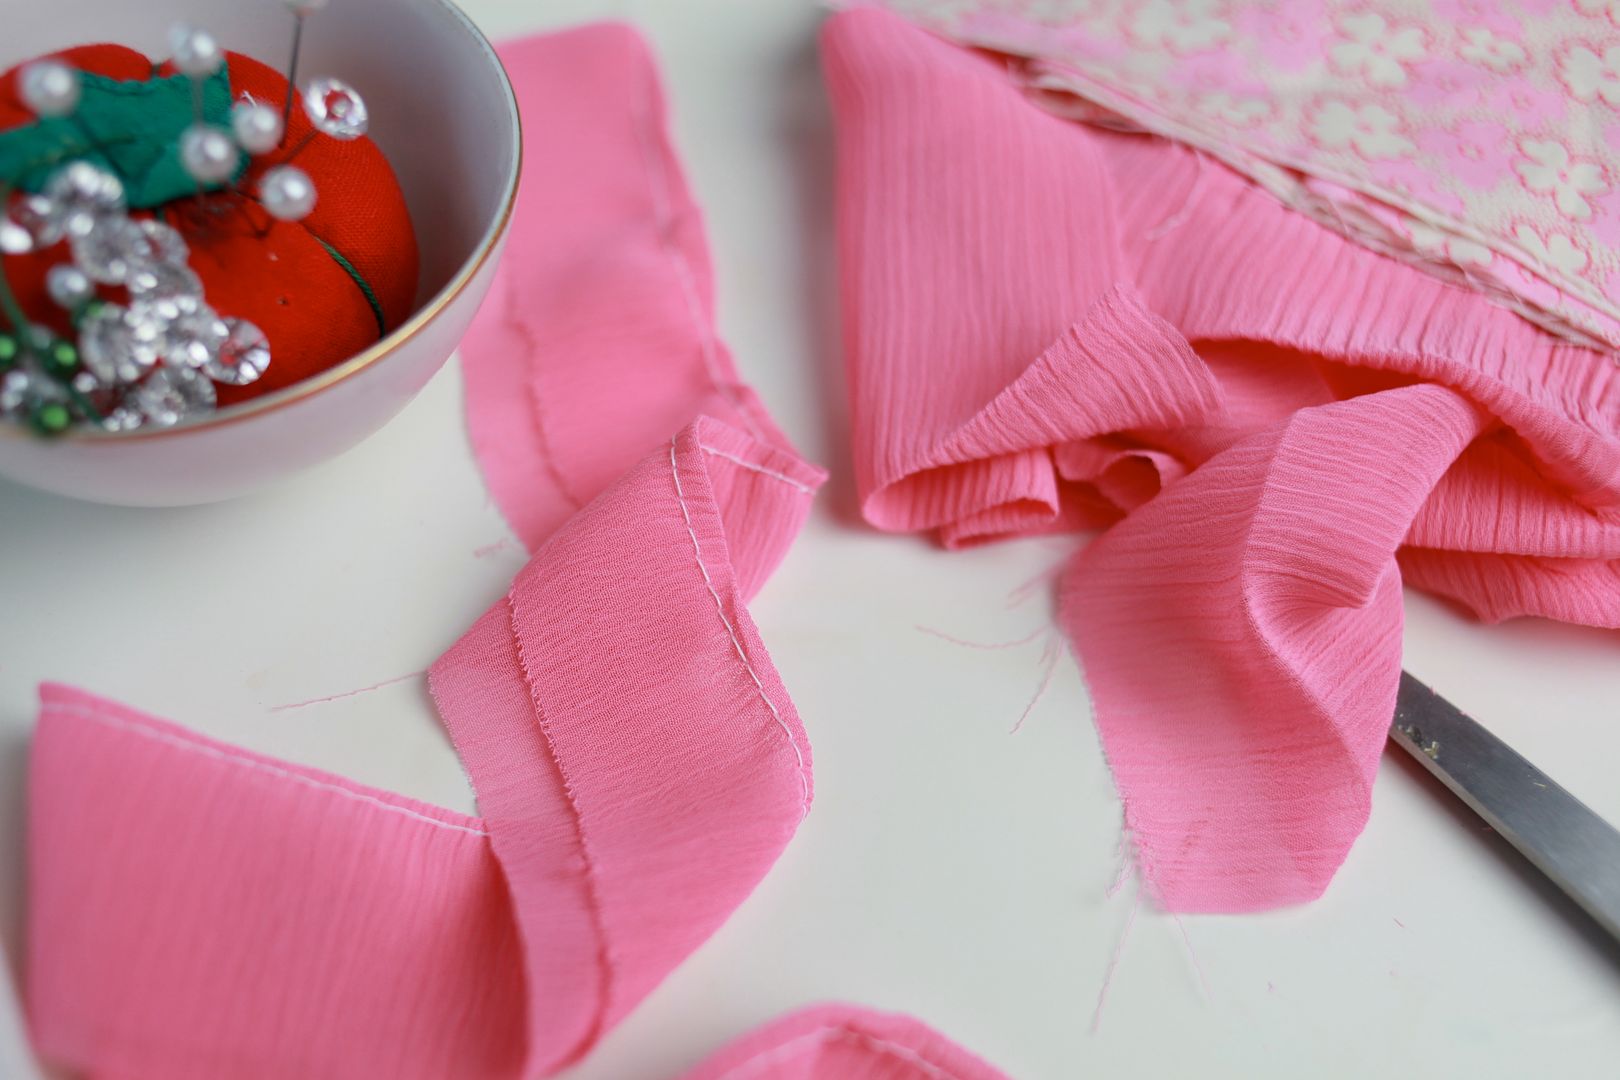
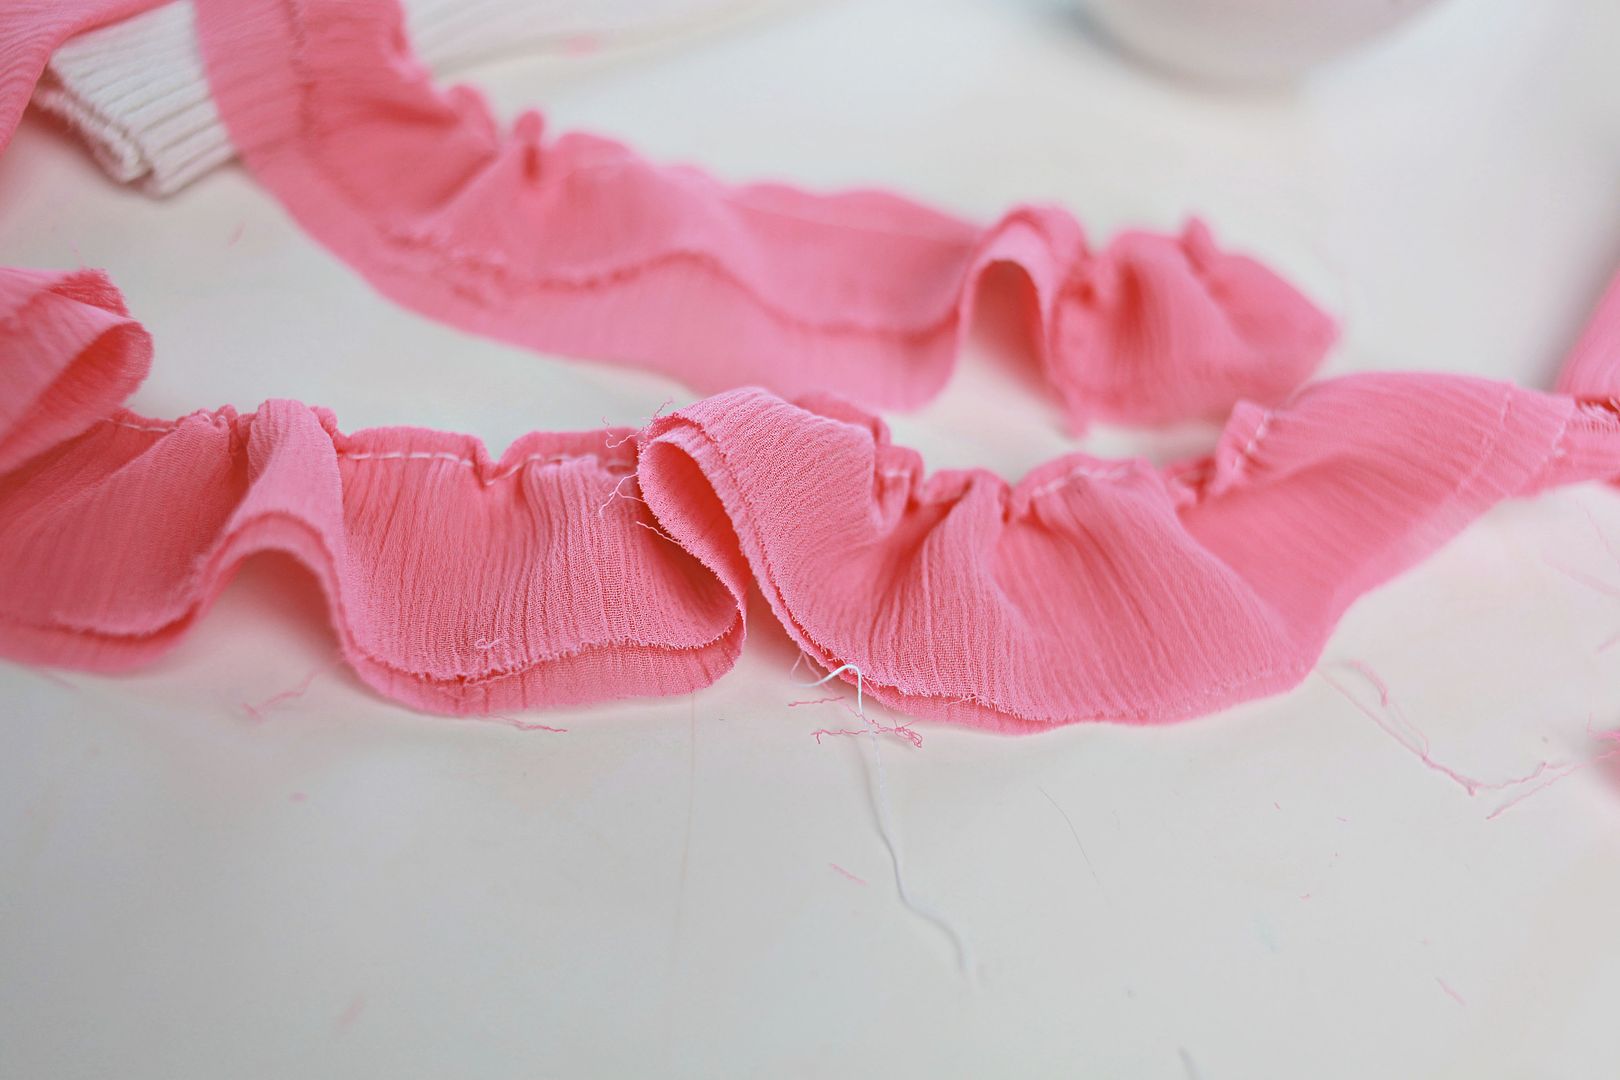
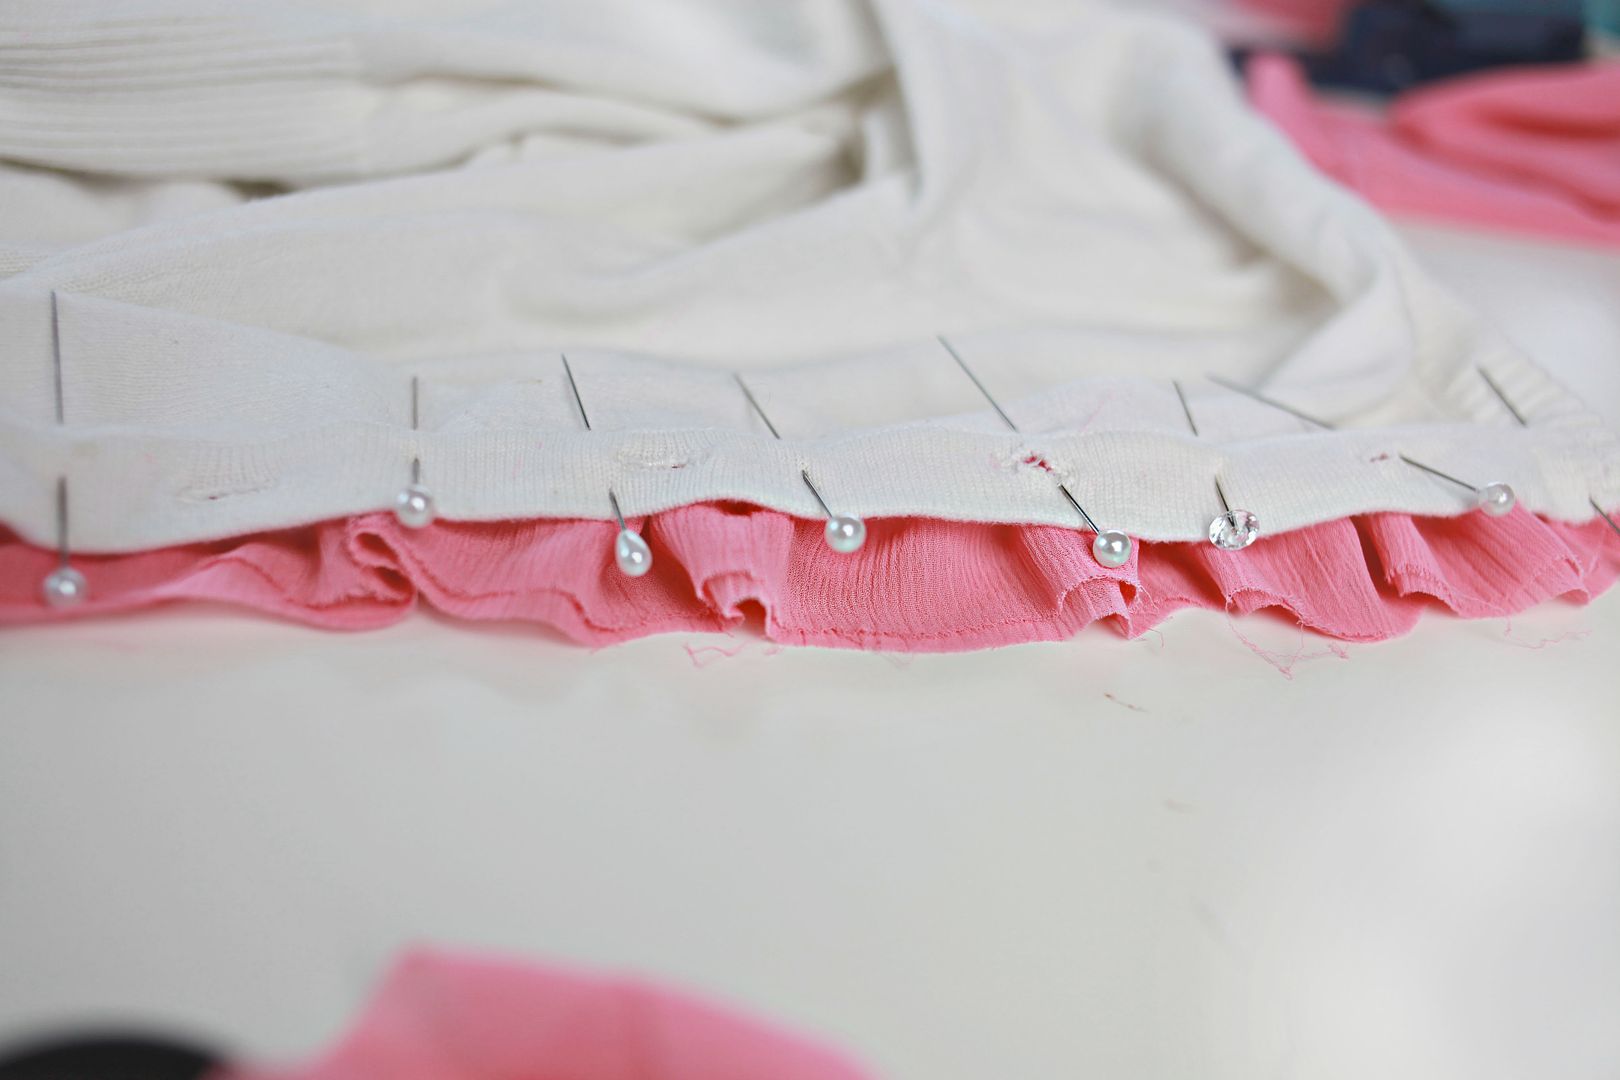
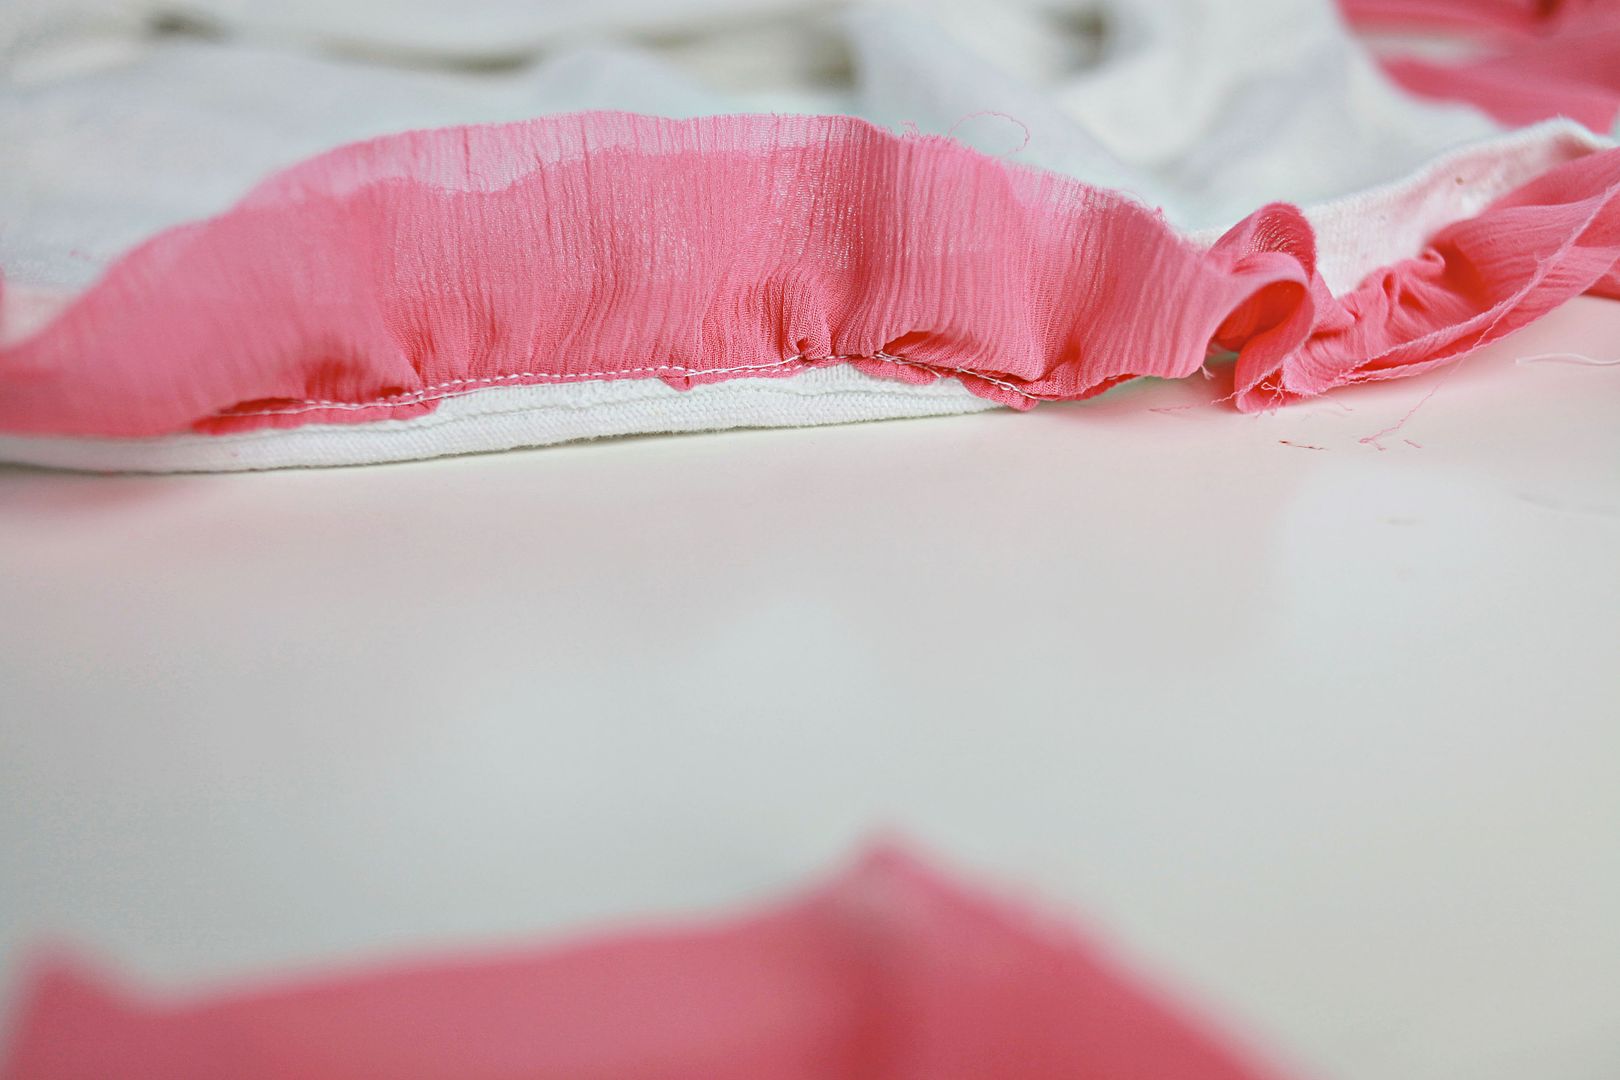
I cut off the band at the top and then also made a slit about 2" long down from the edge. After you cut the slit then smooth off the corners so that there is a bit of a dip in your sock and not quite so blunt of corners. What this does is it gives you more room to fit the sock on your leg after you sew the ruffle. The first time I tried this the sock was too tight on my leg so I unstitched it and add the slit and it worked. Also, the ruffle is quite forgiving once you are done and you won't even tell where you cut it.
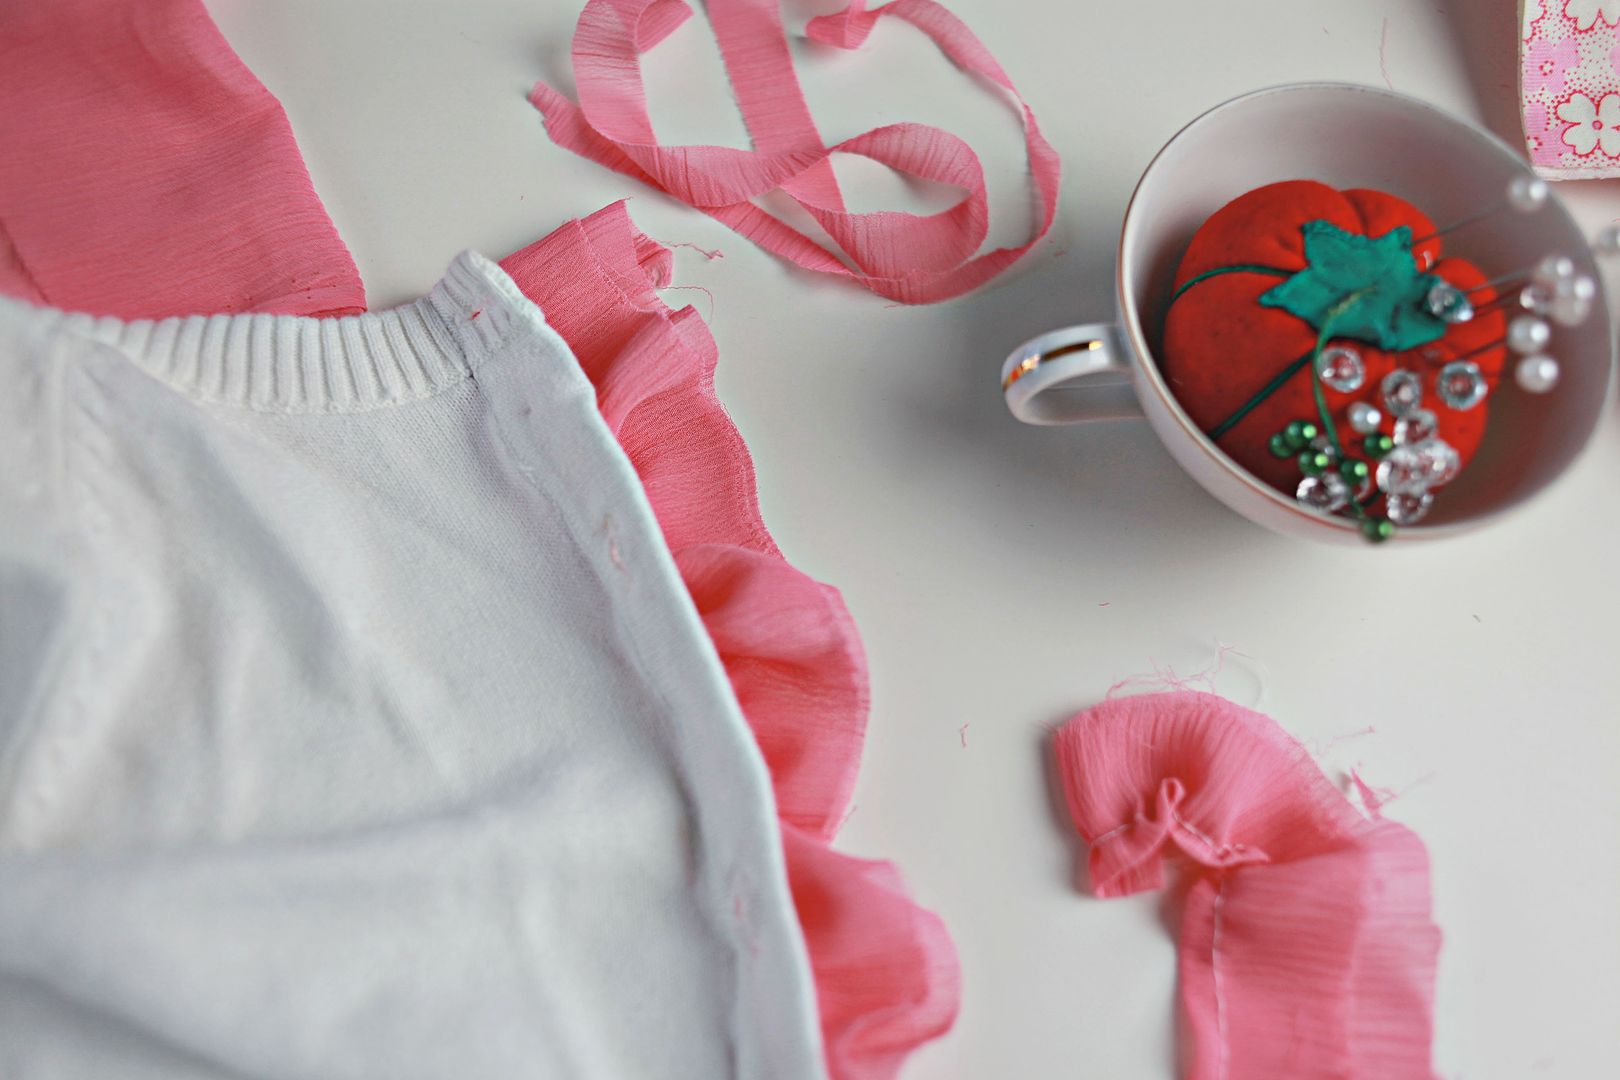
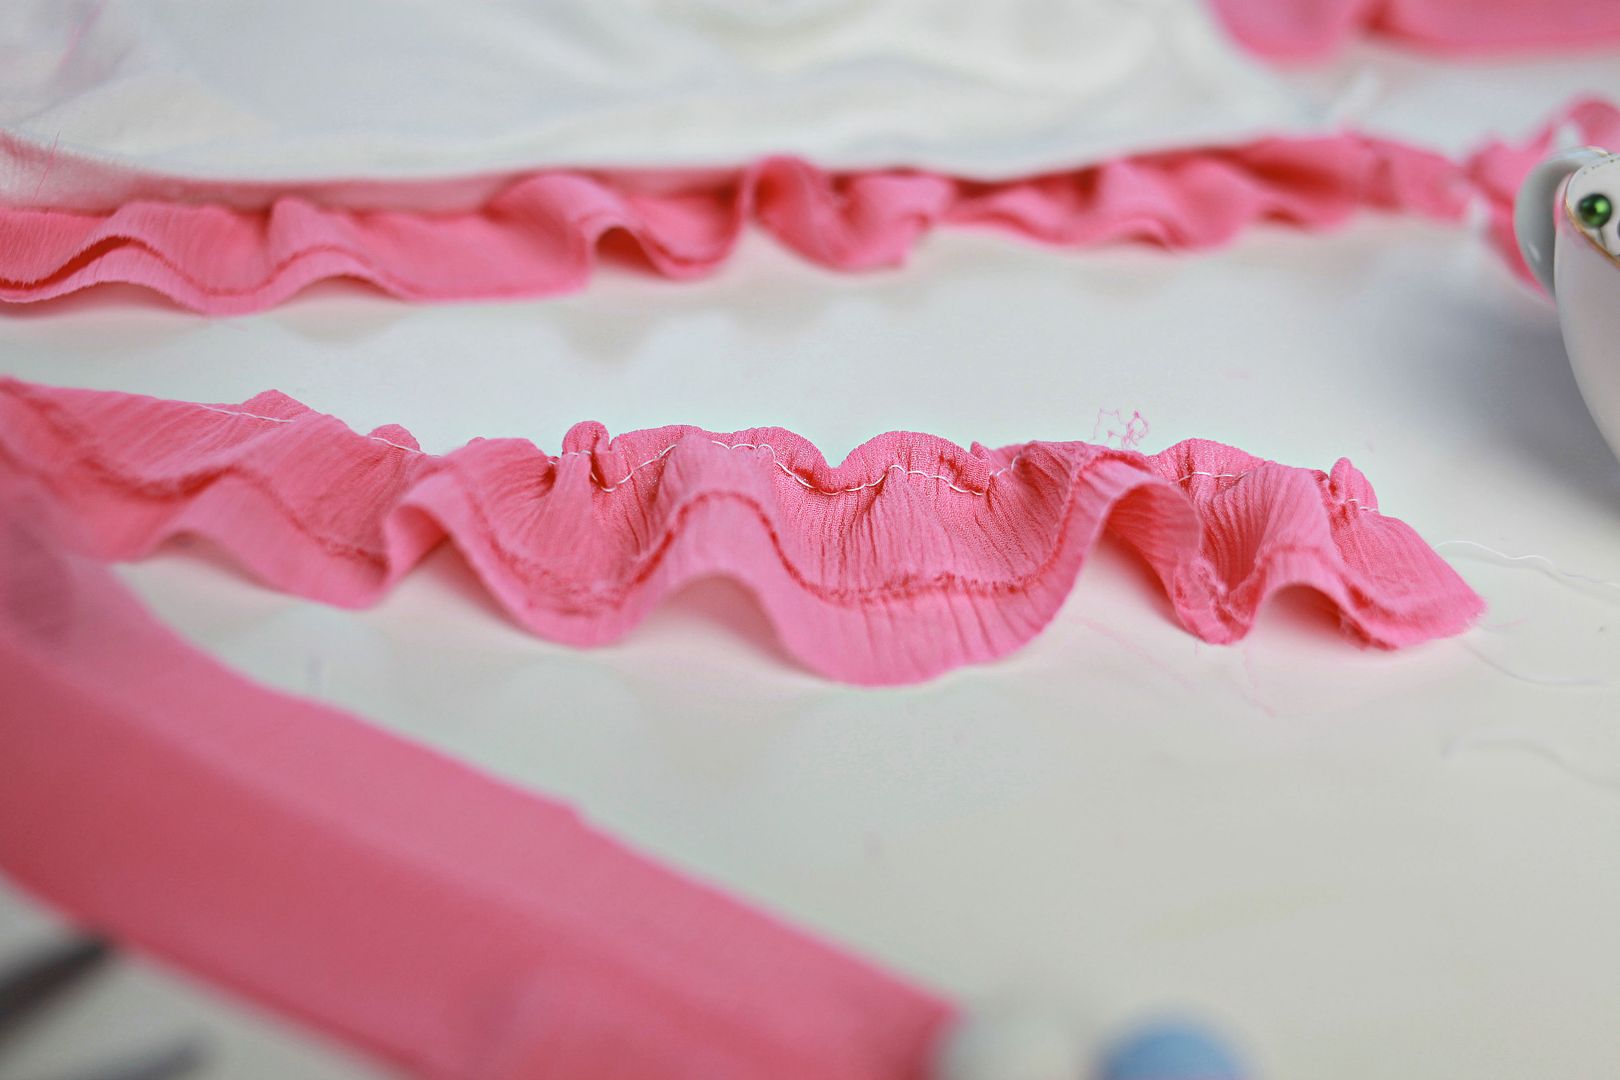
Next, cut 2 strips 2" lace. Layer both strips of the lace on top of the sock & sew a few stitches to keep it in place. Then, hold the fabric behind the sewing machine while stretching the bottom sock layer in front as far as you can. Keep it stretched out really tight the whole time you are sewing. You don't need to ruffle as you go because stretching it out makes the ruffle once you are done sewing and you release your sock.


Add a bow or buttons on the outside of each sock. This bow was made with Chevron Fabric paper but I removed the fabric from the adhesive back that way it is easier to work with.
Looking forward to keep warm while wearing these with boots and leggings this winter. Enjoy! xo Lizzy


Friday, October 28, 2011

The cutest witch you've ever seen

Yesterday we were supposed to jump on a hay bed and take a Ride To a Witch at Gardener Village but someone (me) didn't look at the calendar right and we were a day early. Whoops! Thank goodness there was a witch around every corner of this festy village.

This darling hat originally had an invitation to a witch hat party but seeing it's the perfect size for Lola's noggin' I dressed it up with some fabric flowers and added a headband for her to wear. How cute of a mom would I have been when she met the witches wearing her witch hat?! (Mother-of-the-year nominee here I come!) Oh, yeah, I forgot. I'm not that mom. I'm the mom who's brain is mush and we missed the hay ride & had to feed ducks popcorn instead. ;)


This was about the time my kids nearly jumped into the pond... and thank goodness Collin was there because there is no way I would jump into that smelly swamp after them. Oo00ookaaaaaay, but only after I took off my boots.
This scene is reminiscent of the fruit stand photo. (Why yes, I do often look like a frantic mom.)
Happy Friday!!

Teaching another Something Splendid class is exciting! Be sure to join us for our Thankful class. Here's all the goodies that are included in the kit. (Including a really pretty grey trim.)

Sunday, October 9, 2011

hot cocoa for two

Such a cheery gift idea that is quite simple yet unexpected. I love it... and have plans for lots of Christmas presents in jars this year. Plus, how unique to wrap your presents in fabric?! Perfection.

chewing the cud via rue magazine
PS I couldn't figure out how to download the tags and recipe but I'm sure it's pretty you could google a good recipe.

Wednesday, September 14, 2011

refashion: Ruffle Blazer

I would love to have the time and patience to thrift more often. It's fun seeing what other people find. Actually, let me rephrase that... it drives me nuts when I see what other people find because I swear the best thing I've ever thrifted was the Sound of Music record & Collin's old lady Halloween costume. Which I am very proud about both!
You could imagine my excitement when I found a blazer for 2 bucks! I did a little happy cheer all the way to the register. Then all the employees broke into a celebratory song and dance as they carried me out the store on their shoulders.
Not really, but I did get what I needed to make a ruffle blazer.

REFASHION:
First, I found a pleated lace trim and sewed it to the bottom inside of the jacket only sewing onto the lining. Then I pulled off the shoulder pads and slightly opened the seam to remove them then sewed the seam back together. It still seems a little big on her but at the rate she grows it will fit snug in no time & be too small by spring.
Last, I added some Miss Ruby Sue rolled flowers, Deja Vu pearl necklace and the cutest knitted bow from Emmadime- her shop is perfect for Fall. I swoon over it all.


She is my girly girl of the three sprouts so I knew that if she was going to wear a blazer... it better be as pretty as can be!
The picture above astounds me and I absolutely love it. Especially larger on my computer screen.
Oh, my sweet girl, who is such a little stinker! Like how she poured milk into her watercolor cup and then painted and kept drinking the black murky milk.

Collin did such an awesome job taking photos. He's so good at letting her play and then capturing the moment.


Sunday, August 14, 2011

Refashion// full skirt to pencil skirt

Sometimes when it comes to clothes I can be a hoarder... nothing that I need an intervention for where all my friends come over and pry flannel shirts from my kung-fu grip. But I can hold onto things for random reasons for much too long.
I once made a rule, that I always break, if I haven't worn it in 2-3 years then I should say bye bye unless there was something special & sentimental, or a nice pattern. This polka dot skirt I haven't worn for well over 7 years & regardless of the fact that the zipper was broken- I just couldn't let it go. As you can see my sentimental side always wins.
Well, I recently did another spring cleaning (yes I'm aware it's August) to clear up some space and thought it would be fun to refashion a few things.
This skirt was my guinea pig.

  • I used my favorite pencil skirt as a pattern. Pinned the pencil skirt to the polka dot skirt. Made sure that since the polka dot skirt has many pleats on the front that the pleats were folded. Then I cut both sides of the skirt, leaving a seam allowance.
  • Next, I pinned one side together (right sides facing each other) and sewed that side seam. Then I sewed the other side seam leaving room at the top for my zipper. Then I tried on the skirt. One of the sides was too bulky so while I was wearing it I pinned where the bulkiness started and stopped (to mark it) then sewed so that the skirt fit more snug.
  • I added the zipper, which is a Christmas miracle that it actually was functional once I finished.
  • The pleats in the front give it enough room so that I didn't need a slit or anything and it not as restricting when I walk compared to my other skirts so I love that aspect.


Share any tips or ideas of your refashioned pieces...! I'd love to hear.

Before the refashion the skirt fit really low on my hips, now it's sits higher on my waist which was a happy accident. Yes, I had to take apart the seam a couple times but it all came together in the end. We will just have to see how it stays together when I wear it.

Thursday, July 7, 2011

Pom Pom Braid Bracelets

Today is the start of my new summer blog series: One for me One for you.
For me, when I was a kid summer was all about play. Soaking up every minute until sun-down: running in sprinklers, going to the Drive Inn, snow cones and ice cream trucks. One thing we can not leave out of summer traditions are friendship bracelets!
Over the upcoming summer weeks, a few guest bloggers and I are going to share some lovely friendship bracelet ideas and even giveaway some of the bracelets to you!


The first guest blogger is Mandi from Here's Looking At You Kid. I've followed her blog for a few years and I love her incredible taste whether it's home decor, her vintage wardrobe finds or her beautiful designs. She shares a lovely how-to below.
Pom Pom Braid Bracelets

Here's how:
- cut scrap fabric (mine are leftover from hemming clothes) into three strips:
sizes for 2 short strips: add 4 inches to wrist diameter.
size for 1 long strip (this is the one you will tie): add 6 inches to wrist diameter
- Allowing the long strip to extend past the shorter ones, begin braiding the fabric. At the beginning and end of braid, knot the two shorter strips around the long strip.
- Trim edges to desired length using a penant or diagonal style cut.
- Add fray-check to the edges of unbraided fabric, and once dry, trim excess strands.
- Wrap the braid around your wrist, tying the long strips together in a loose knot.

Mandi made the bracelets with her friend Vanessa, so, even better than making one for a friend, make them together!
What a fun start! Leave a comment and Mandi would love to prettily package up a friendship Pom Pom Braid Bracelet and ship it out to you!

Tuesday, March 29, 2011

diy: crepe ruffle sweater


This sweater was sitting in my closet lonely and bored. I thought I should lift its spirits with a crepe-ruffle edge to give it new life & ready for Spring. It was surprisingly quick to do and easier than I expected.
1 Choose a fabric that has some texture and is pretty thin
2 Cut two strips of fabric at 4"x 40" or longer depending on length of sweater
3 Iron fabric strips in half so it is about 2" wide
4 Run a wide-stitch... on my machine the stitch was set to 4 and then tension 4
5 Hold the top thread while gathering the fabric so it is evenly ruffled
6 Pin the ruffled fabric to the sweater so that there's 1/4" of the fabric layering overlapping a seam to the left of the buttons on your sweater. That seam is where you will sew so you're stitching isn't seen.
Repeat for the other side of the sweater.
Tip: I ironed the fabric so that one of the layers is shorter than the other so it looks like two layers of ruffles.
I am not a seamstress at all so if I can do it you definitely should give it a try. Plus, your sweater will greatly appreciate it.


Monday, February 14, 2011

a green thumbs up

(because a brown thumbs up sounds icky. ;)
Did you know I can not keep a houseplant alive? Every time we go to Ikea and make it through the mouse maze I grab a couple of those plants... and every single one of them dies. All they require is water... and some sunshine but the windows take care of that. A pretty simple task that I fail at repeatedly.
I don't know what made me think of that. I guess I was looking at these photos of Collin and thinking how our love has grown and grown. I guess I wanted to spare you from my gushy essay on 'what love means to me' and instead share thoughts about my tragic brown thumb and the fact that I could probably kill silk flowers if that were possible.

page from my book. "52 more Scrapbooking Challenges."
But at least I know I can grow love. That's what really matters on this Earth. Who cares about plants anyways? I mean they are a source of oxygen, who needs that? ;)

Instead of gushy words I leave you with a cheesy, animated card I made for Mr. Kartchner. Because he thinks my photoshop skills are sexy. (Be Mine.)

Page Supplies: Two Peas: Swanky Labels; Jenni Bowlin: Rubons & Paper; American Crafts: Flair, Heart, Paper
Misc: Fabric, Tag, Spray Ink
♥ ♥ ♥ ♥ ♥
Happy Valentine's Day to you!

Sunday, November 21, 2010

bowties, burlap & blossoms: Favor Boxes/Place Setting

Ever since I was a little girl my mom put me in charge of the place cards for Thanksgiving dinner. Most of the time I would just fold a paper in half and scribble everyones name on it while I watched Macy's day parade or sometimes I'd try to be a bit more creative.
This year I made some conversation starter/favor boxes/place cards. The gentlemen receive the bowties & burlap and for the ladies-canvas blossoms & lace.


To make the rolled canvas flowers I used one of my favorite Sizzix dies: 3-D Bigz Die.

You can use them for a place settings and include a simple mint inside the box. Or I like to use them as a conversation starter by adding different colored candies inside with color coded questions.
We love to do this after we've gobbled up dinner and before cutting into Collin's apple pie. (It gives you time to make room for dessert;)
Print out the conversation starters on a piece of paper for every other person and then go around the table and answer the questions that go with the color of the candy in your box.
We've enjoyed this simple game the past few years because it steers away from the typical
'what are you thankful for' answers and we hear more meaningful thoughts.
Some ideas may include:
-Something you're looking forward to
-Something you hope for
-Something you wish for the person on your left
-Something you're grateful for
-Lesson you've learned this year
-Something that makes you happy
-What you love about the person to your right
-What you hope for the person on your left

PS I am still very much pregnant.

PPS Check out Collin's entertaining post with the giveaway winners... still waiting to hear from a couple of you!